It’s normal to wonder how long your new deck will take to build. Most custom deck installations take 2 to 6 weeks, depending on design complexity and weather. Permit delays or poor planning can extend timelines, while experienced crews work efficiently. You’ll see progress quickly once construction begins.
The Blueprint and the Permit
Designing your dream deck starts with precise plans drawn to code. You’ll need these detailed blueprints before any city official will approve construction. This stage shapes everything-size, materials, railings, and placement-all must meet local standards. Skipping this step risks costly rework or failed inspections.
You draw the lines on paper and wait for the men at the city hall to say yes.
You sketch your vision into formal plans, ensuring every measurement aligns with zoning rules. Once submitted, your fate rests with municipal reviewers. Approval isn’t guaranteed, and even small errors can trigger delays. Patience is required while officials examine your proposal for compliance.
This part takes two weeks if the luck is good and longer if the luck is bad.
Two weeks is the best-case timeline for permit approval, but delays happen. Backlogs, incomplete submissions, or design conflicts can stretch this to four weeks or more. Weather, staffing shortages, or seasonal demand may slow things further. Your project can’t legally begin without that green light.
Permit review times vary widely depending on your municipality’s workload and clarity of submission. Some towns process applications quickly if all documents are in order, while others require multiple revisions. A well-prepared, code-compliant plan dramatically improves your odds of fast approval. Hiring a designer familiar with local codes can prevent common pitfalls and keep your timeline on track. Delays here ripple through your entire schedule, so accuracy matters.
The Work Upon the Ground
You begin transforming your yard into a solid foundation for your custom deck. This phase sets the structural integrity of the entire build, so precision matters from the first step. Every inch of cleared ground brings you closer to a safe, lasting outdoor space.
You clear the grass and the stones until the earth is bare and clean.
Start by removing all vegetation, rocks, and debris from the planned deck area. A clean surface ensures proper drainage and prevents future shifting. Uneven or organic material left beneath can compromise stability, so thoroughness here protects your investment long-term.
You dig the holes for the concrete footings and ensure they are deep and true.
Depth matters-each hole must reach below the frost line to prevent heaving in cold months. Use a level and measuring tape to confirm each is perfectly vertical and uniformly deep. These footings anchor your deck against movement and weather stress.
Properly dug footings are non-negotiable for safety and code compliance. Your local building regulations dictate exact depth and diameter, often 36 inches or more. Wet soil or sloped yards may require adjustments, so always verify hole depth with a professional before pouring concrete. This step prevents costly repairs later.
The Raising of the Frame
Building your deck’s frame sets the foundation for everything that follows. You secure each structural element with precision because any misstep here risks long-term stability. This phase demands careful measurement and strict adherence to local codes to ensure the frame supports both weight and weather for years.
You bolt the ledger to the house so it will never move or fail.
You anchor the ledger board directly to your home’s rim joist using heavy-duty structural screws or bolts, not nails. This connection bears much of the deck’s load, so skipping proper flashing or using undersized fasteners risks water damage and structural failure. A secure ledger means your deck stays fixed, safe, and dry.
You set the joists and the beams to carry the weight of the men and the wood.
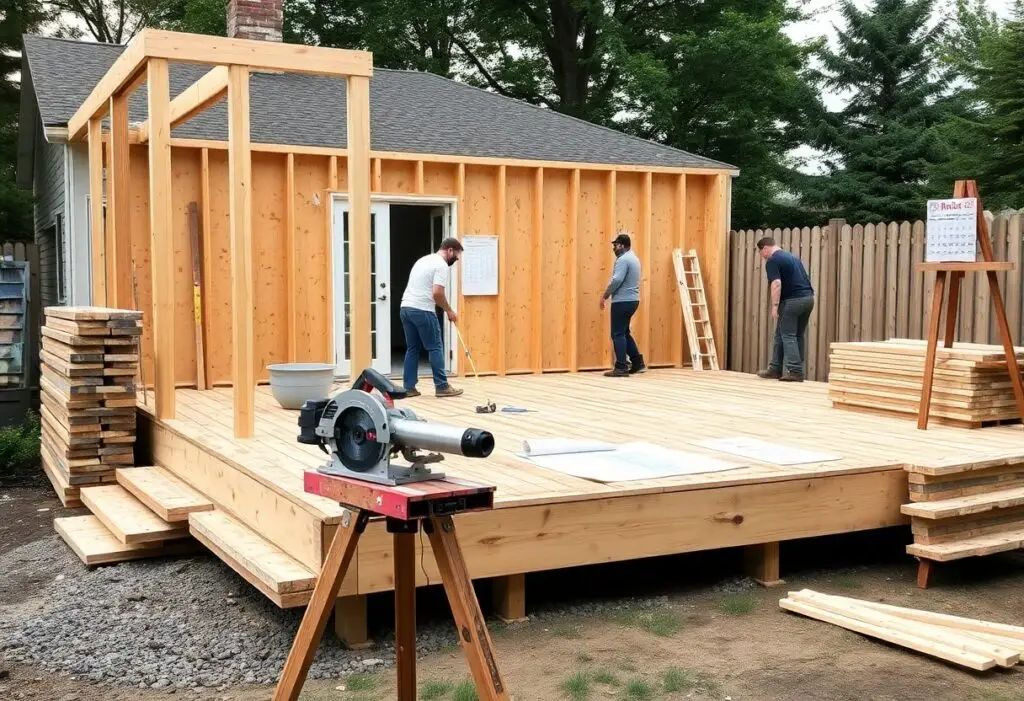
You position beams on properly spaced footings and install joists at exact spans to handle live and dead loads. Incorrect spacing or undersized lumber can lead to sagging or collapse. This framework must be level and square-your deck’s strength depends on it.
Each joist and beam works together to distribute weight across the entire structure. You use pressure-treated or engineered lumber sized according to span tables and local requirements. Beams rest on posts anchored deep in concrete, preventing shifting, while joists are secured with hurricane ties for resistance against uplift. This skeleton must be flawless-because once the decking goes down, there’s no going back.
The Laying of the Planks
You begin laying the planks with precision, aligning each board to ensure a clean, even surface. Proper spacing is critical to prevent warping from moisture expansion. Working steadily, you maintain consistent gaps using small spacers, which helps achieve a professional finish that will last for years under foot and sun.
You lay the boards straight and cut the ends with a sharp saw.
Alignment starts with placing each board flush against the previous one. A sharp saw ensures clean, accurate cuts at the edges, especially around railings or corners. You measure twice and cut once-mistakes here are visible and costly, so patience pays off in a seamless appearance.
You drive the screws into the wood and the work goes fast in the sun.
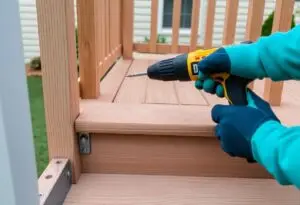
Driving screws secures each plank firmly to the joists below. Warm, dry weather speeds up the process, as wood expands slightly and accepts fasteners more easily. You work row by row, keeping the pattern consistent-misaligned screws weaken structure and spoil aesthetics.
Screwing down planks under sunny conditions improves both speed and quality. The heat dries any residual moisture, reducing the risk of splitting. You use a countersink bit to set screws just below the surface, preventing trip hazards and water pooling. Using the right screw type for your decking material prevents corrosion and ensures long-term stability, especially in high-traffic or wet climates.
The Railing and the Steps
You finalize this phase by installing railings and steps, turning your deck from structure to sanctuary. Properly secured railings prevent falls, meeting safety codes and giving peace of mind. Stairs are built for steady use, ensuring every ascent and descent feels natural and safe underfoot.
You set the posts for the railing so no man falls off the edge into the dark.
Each post anchors deep into the frame, creating a barrier that stands firm against weight and time. You position them no more than six feet apart, following code, so the railing won’t waver. This is where safety becomes visible-one solid grip at a time.
You cut the stringers for the stairs so the climb is easy and the wood is solid.
Stringers shape the rhythm of your steps, cut with precision so each rise feels natural. You use pressure-treated lumber, resistant to sagging and decay, ensuring long-term stability. The angle supports smooth movement, making access safe and comfortable for everyone.
Every stair begins with a correctly cut stringer-its notches hold the treads and risers in perfect alignment. You measure each step to match local codes, typically between 7 and 7.75 inches in rise, so the climb feels effortless. Weak or poorly spaced stringers lead to wobble and risk, but yours are spaced 16 inches apart and bolted directly to the deck frame, creating a staircase that’s rock-solid underfoot.
The Weather and the Waiting
Delays are part of every custom deck project, and weather plays a major role in determining your timeline. Rain, snow, or high humidity can halt work for days, especially during framing and finishing stages. You’ll need patience when skies turn gray, because working on wet lumber or soggy ground risks structural integrity.
The rain comes and turns the ground to mud and the tools stay in the truck.
Water transforms your yard into a slick obstacle, making it unsafe to lay foundations or operate heavy equipment. Your crew won’t risk slipping or damaging materials, so work stops until the soil dries. Muddy conditions can delay progress by days, but pushing forward could mean costly mistakes later.
Sometimes the wood does not arrive and you wait and watch the road for the delivery.
Material shortages happen, and your deck boards might not show up on schedule. You’ll find yourself checking the driveway, hoping to see the delivery truck. Missing lumber halts all progress, and no amount of planning can always prevent these supply chain hiccups.
When the wood doesn’t arrive, your entire timeline shifts. Suppliers face backlogs, transportation snags, or unexpected demand spikes that delay shipments. You’re left waiting, unable to proceed with installation or staining. This single delay can push your completion date back a week or more, which is why building buffer time into your schedule is a smart move.
Final Words
As a reminder, your custom deck installation typically takes two to six weeks, depending on design complexity, materials, and weather. You receive a clear timeline upfront, and your contractor keeps you informed at every stage. Choosing quality craftsmanship ensures lasting value and enjoyment from your outdoor space.
FAQ
Q: How long does a custom deck installation typically take from start to finish?
A: A custom deck installation usually takes between 1 to 3 weeks for most standard projects. The exact timeline depends on the size of the deck, design complexity, materials used, and weather conditions. Simple designs using pressure-treated wood may be completed in as little as 5 to 7 days, while larger or multi-level decks with premium materials like composite or exotic hardwoods can take up to 20 days. Site preparation, permitting, and inspections also factor into the overall schedule.
Q: What factors can delay a custom deck installation?
A: Weather is one of the biggest factors that can delay a deck project. Rain, snow, or high humidity can interrupt construction, especially during framing and finishing stages. Unforeseen site conditions like uneven ground, tree roots, or hidden utility lines may require extra time to address. Delays can also happen if materials are backordered or if the homeowner makes design changes mid-project. Scheduling conflicts with the contractor’s crew or inspections from local authorities can add a few extra days.
Q: Does the permitting process affect how long it takes to install a custom deck?
A: Yes, the permitting process can add time before construction even begins. In most areas, building a deck over a certain height or size requires a permit, which can take 1 to 3 weeks to obtain. The contractor or homeowner must submit plans for review by the local building department. If revisions are needed, that can extend the wait. Starting construction without a permit can lead to fines or work stoppages, so it’s best to factor permit time into the overall project timeline.