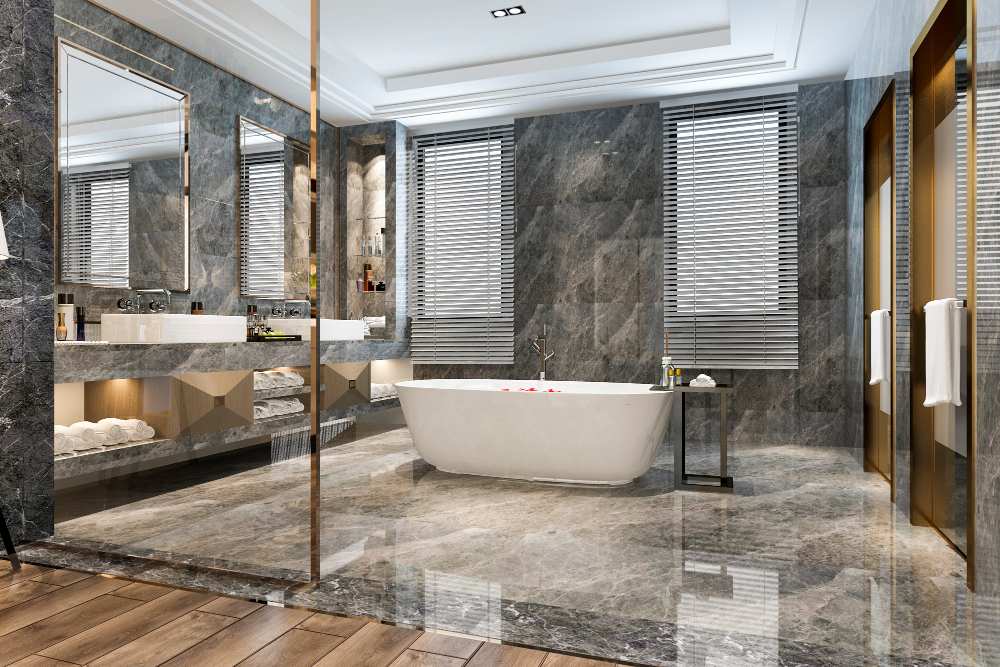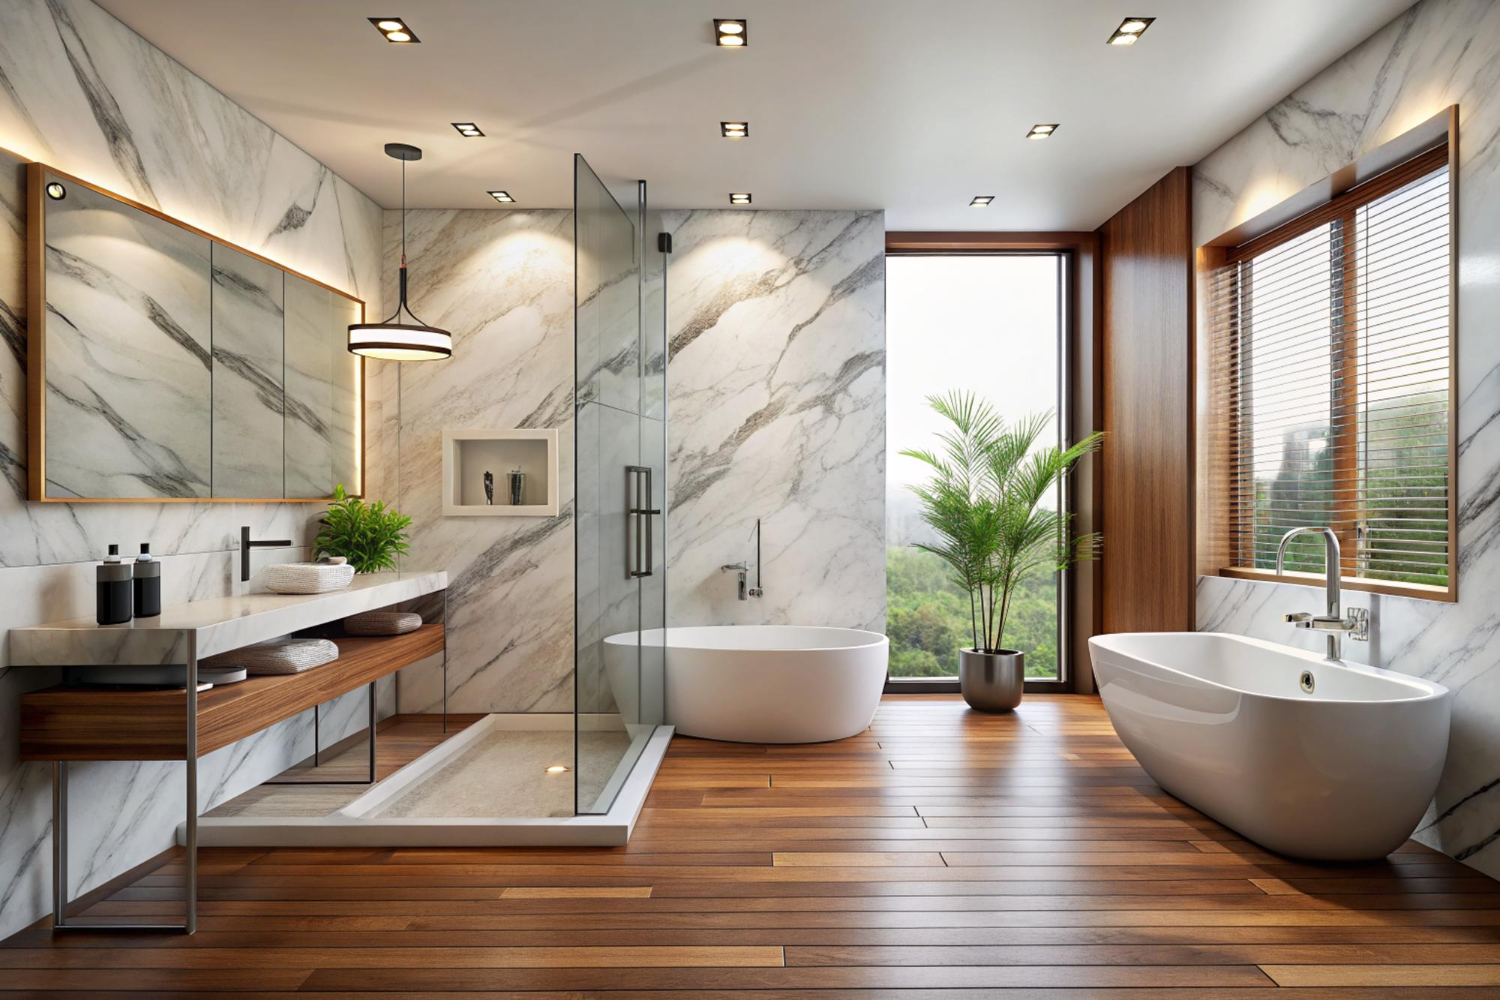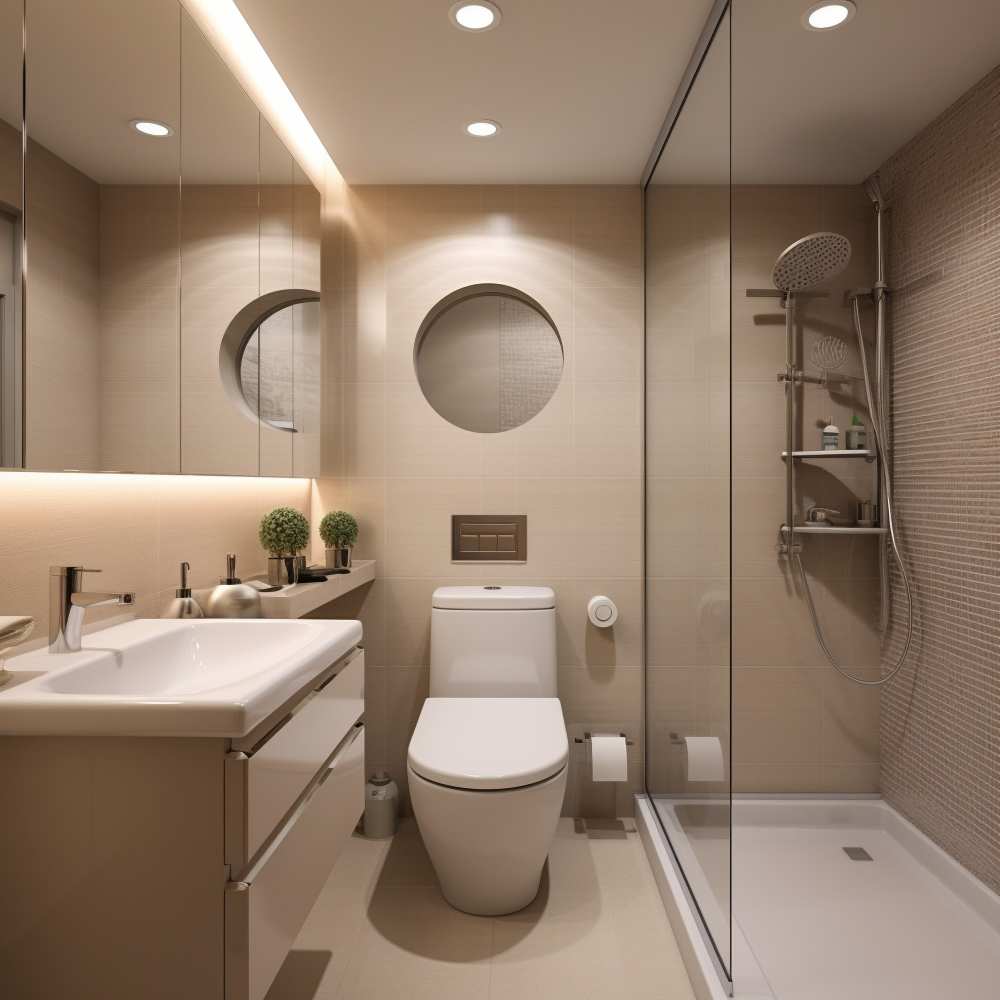
Renovating and remodeling your bathroom is a mammoth task. It requires a lot of time, effort, and money to execute. It is always advised to engage professionals to help you remodel your bathroom safely and precisely. But, if you are a DIY enthusiast and want to do it yourself, then today’s blog post will help you through your quest.
We have given an easy 10-step breakdown of a DIY bathroom remodeling project that will guide you step-by-step throughout the project. Let’s begin!
A bathroom remodeling or renovation is a big project that requires immense time and money, leaving no room for errors. That is why it is imperative to make a decision on its layout before beginning. If you are satisfied with the current layout, you can keep it. However, if you want to upgrade the orientation and placement of fixtures, fittings, and other installations, it is important that you create a new layout before moving to the next step.
Furthermore, we recommend you invest your time into making a new layout, as any later U-turns can cost you a lot of money.

Prior to moving any further, it is important that you decide on the design of your bathroom. We suggest you take the time to pick the theme, colors, and utilities that you need to install in the bathroom.
Below are a few details that can help you during this phase:
Bathroom Style: Decide whether you are interested in a chic modern look or want to go for a contemporary or any other décor style for your bathroom.
Color Scheme: Based on your chosen décor style, decide on the suitable color scheme. You go for bold and vibrant, neutral colors or mix them both.
New Fixtures: Make a list of the fixtures that you want to replace and decide on their design and style. This can include a bathtub, shower, new sink and toilets.
Storage Spaces: Decide on storage units, such as shelves and cabinets, where you can store your towels and other toiletries.
Location of Utilities: Plan the routes and locations of the utilities, such as plumbing pipes and electrical wiring, without damaging the aesthetic appeal.
Next on the list is to prepare yourself and gather the tools that may be needed during the project. Based on your project, you may need different tools and safety gear. However, we have given a generic list of the tools that can come in handy in all bathroom remodeling projects.
These tools include the following:

Let’s assume for now that you are going for a complete bathroom remodeling. You can begin by removing the fixtures and fittings. This will also include the drywall in your bathroom. However, there are a few steps that you should follow to avoid costly mistakes.
If you have removed your old shower or bathtub. You can begin your project by reinstalling them. However, before starting the installation, you must check for water damage to the subfloor and carry out fixes to prevent further damage.
After that, prepare the surface to receive your new shower, bathtub, or a combination of both. You can choose from different shapes, styles, and designs for your bathtub.
If you are installing a shower in your bathroom, you can also opt for a walk-in shower, depending on the availability of the space.
There are several flooring options that you can choose from. Although tiles are the most popular, you can also select from the vinyl, laminate and other suitable flooring options. However, it is important to choose a DIY-friendly flooring option to work with.
Before beginning the installation, you should check the subfloor for any signs of damage and fix them. After that, begin from one side and work your way to the other side. If you are installing tiles, you can use the mason’s chalk to mark the reference lines that will keep your tiles in a straight line.
Installing the drywall can be a time-consuming step as you need to cut it around bathroom features, such as shower and vanity. After cutting the board, you can start nailing the boards to the wall, which is an easy and quick process.
Here are a few things that you can keep in mind:
Now that you have put the walls back, it is time to add some colors to it. Paint is among the most cost-effective and DIY-friendly ways to do that. If you have already decided on the colors for your wall, you can begin by preparing the surface. Use sandpaper to smoothen the wall surface and begin adding coats to it.
At this stage, your bathroom will begin giving the look that you wanted. However, a crucial fixture, the toilet, is still missing. Installing the toilet in the last is beneficial as it will protect it from chipping while you are working with heavy tools in other bathroom areas.
Finally, you can start decorating your bathroom to provide it with the finish that you want. You can begin by installing trim, which provides a feeling of completion. You can install decorative lighting, pictures and other personalized items to give your space an attractive look.
Bathroom remodeling is a big project, requiring a series of decisions and executing them. You can follow our guide, which can help you through the project. However, it is always recommended that you engage professional bathroom fitters who can install your bathroom safely and accurately.
JD Handy Pro LLC has a team of bathroom fitters. If you need a professional consultation or want to remodel a full bathroom, you can contact us.
We have designed a simple-to-follow work process to ensure you receive our services in a hassle-free manner.
Connect with us through a phone call or our website.
Describe your project to our experts and get a free quote.
That’s it! We will reach your doorstep to execute the job.
Reach out to us now to take advantage of our 25-year-long experience and elevate your living space to the latest trends!

Get the latest updates via email. Don’t miss it. Any time you may unsubscribe.